

Angular Momentum Stool
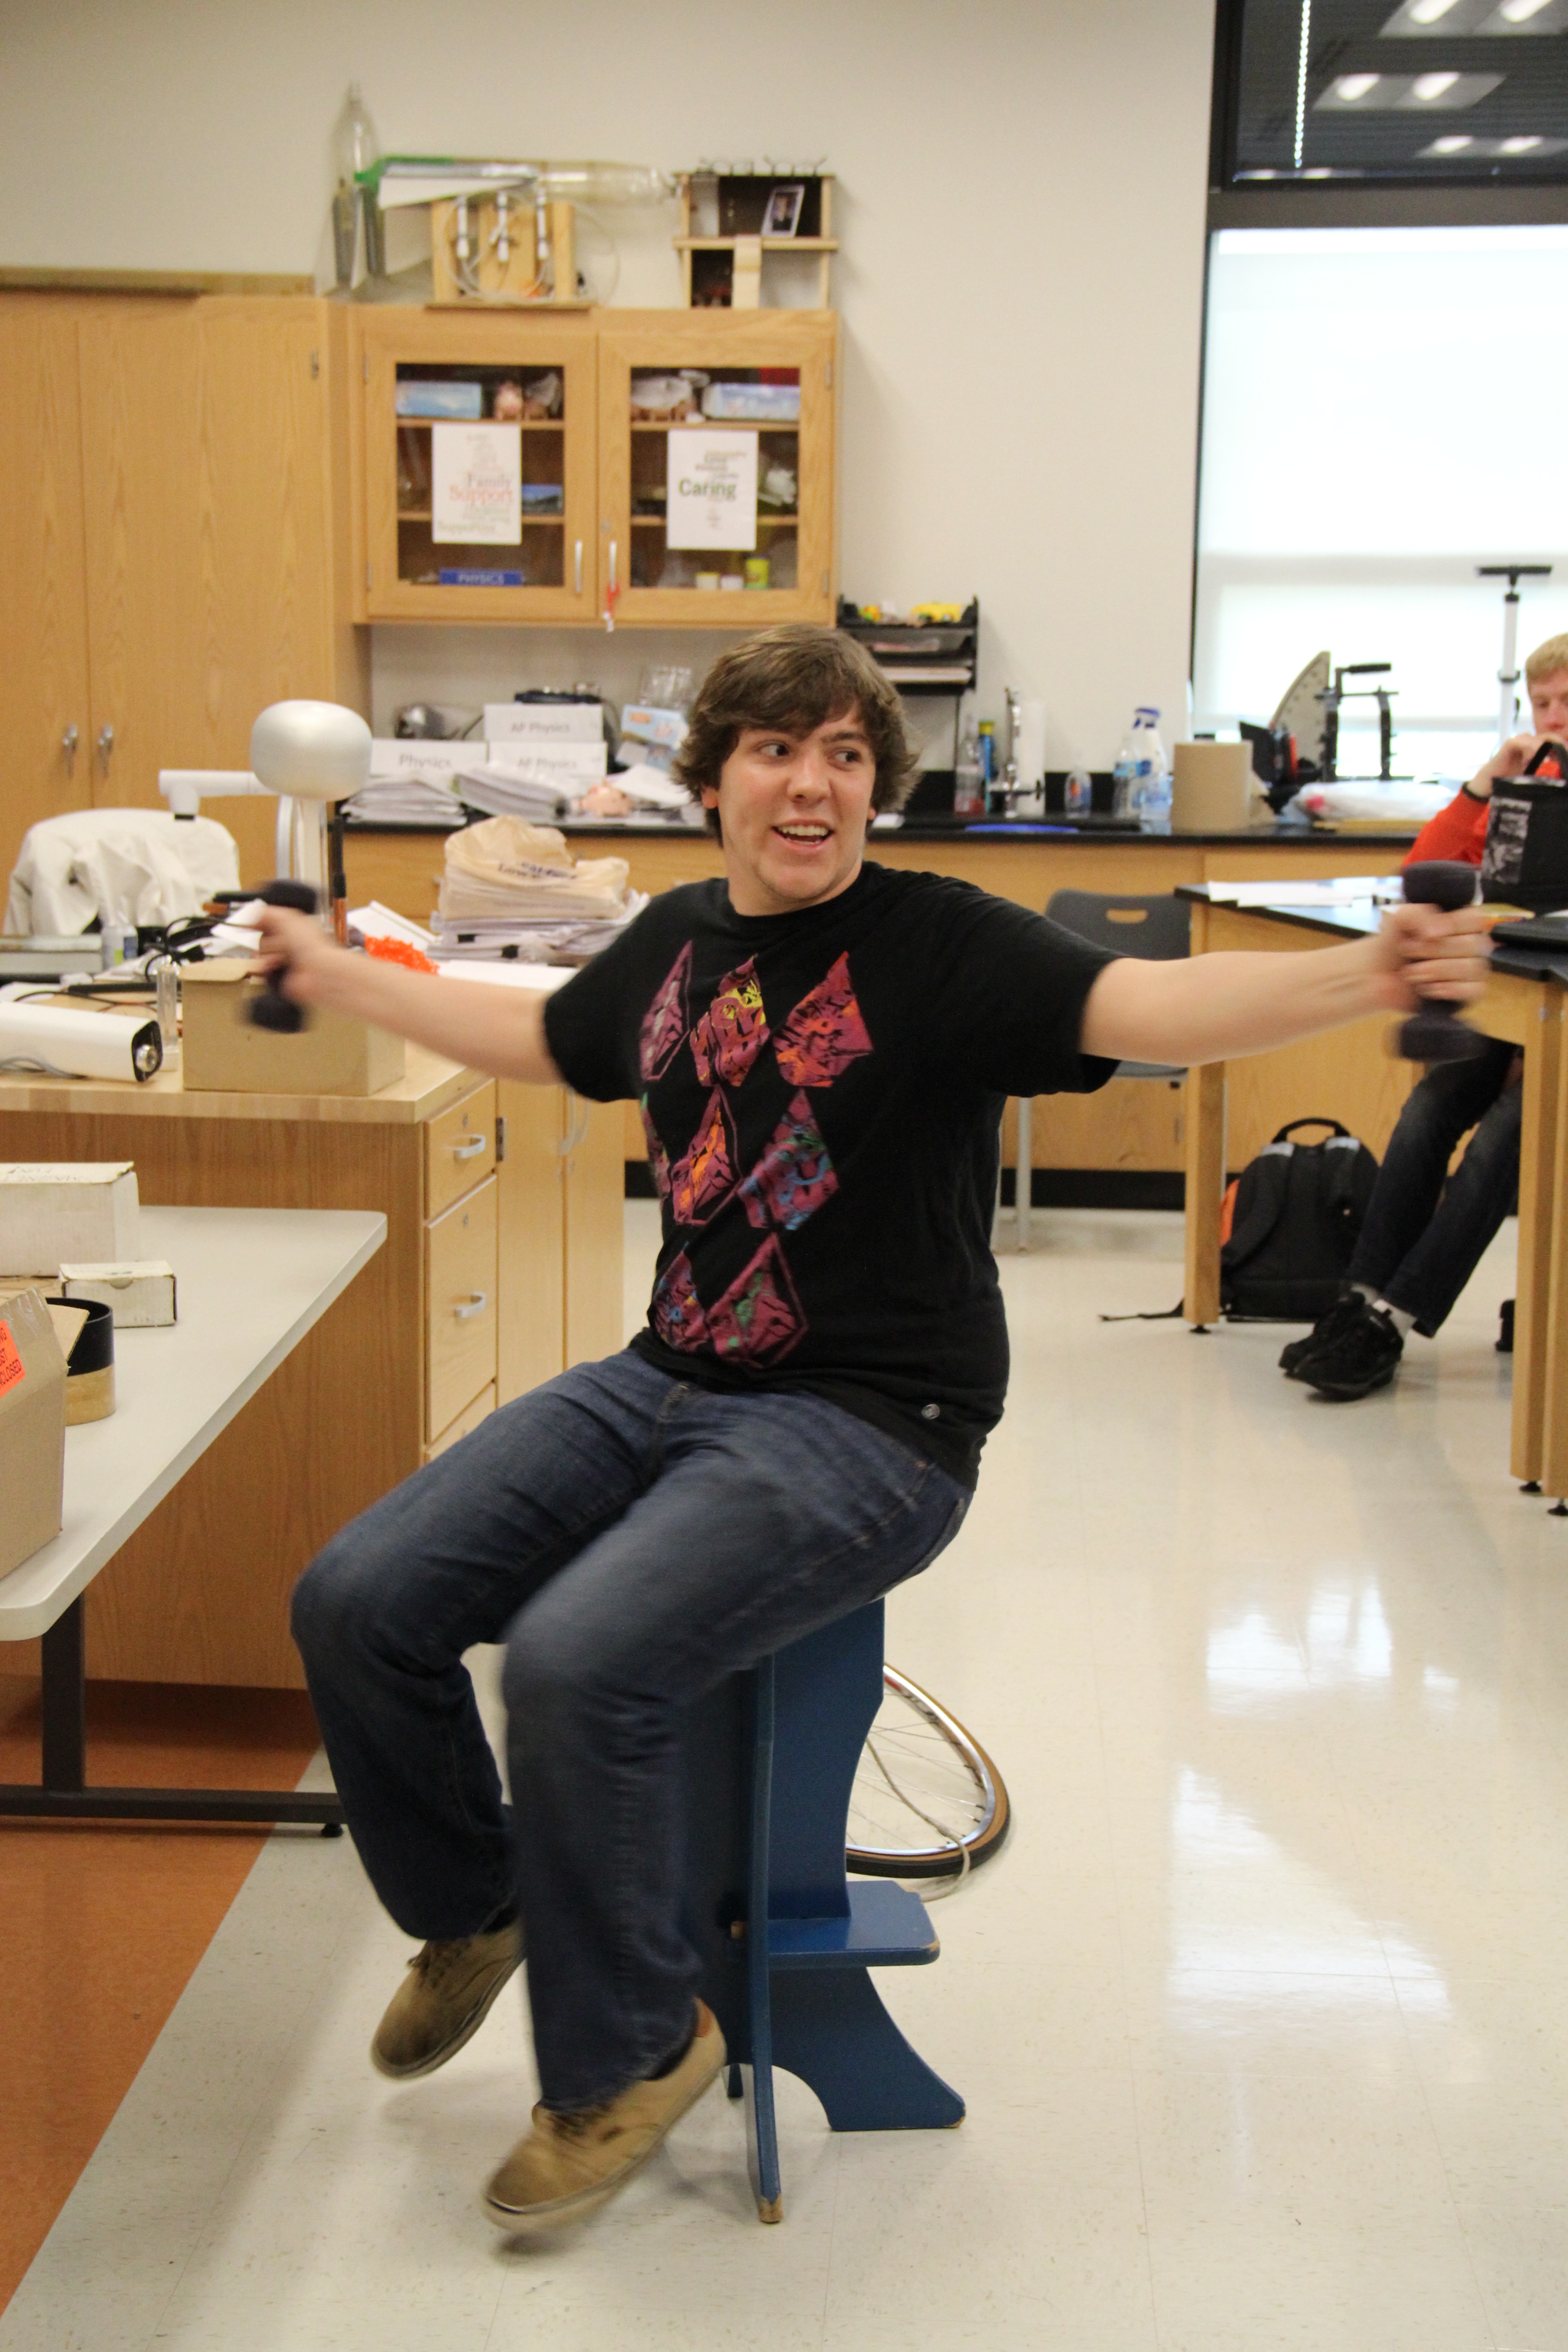
The Angular Momentum Stool utilizes both the bicycle wheel and hand weights to show conservation of angular momentum in a fun and interactive way. Participants of all ages can spin on the stool from the rotational motion of the wheel, or feel themselves spin at differing rotational velocities by alternating between extending their arms with the weights and bringing the weights close to their bodies.
The angular momentum stool is a great way of showing the inverse relationship between radius and angular velocity, as well as touching on vector analysis when viewing angular momentum in a three-dimensional system with the wheel and volunteer.
For the Weights
It is best to think of the volunteer holding the weights out as a circle of some max radius. Once you spin the volunteer, they now have angular momentum. This momentum is conserved. When the volunteer brings their arms/weights in, they are decreasing their radius. In order for the angular momentum to be conserved, the angular velocity must increase in proportion with the decrease in radius. This can be seen by
$$ \vec{\text{L}} = \int\rho {d}\vec{r} = m{\vec{v} \vec{r}} $$
Where the variables are $\LARGE \vec{r} $, and $ \LARGE \vec{v} $
For the Wheel
All aspects of the angular momentum remain the same (mass $\LARGE{m}$, velocity $\LARGE \vec{v}$, radius $\LARGE\vec{r}$) except for the coordinate plane. When the volunteer is holding the wheel vertically, the angular momentum is acting on one two-dimensional plane. When the the wheel is turned some amount from vertical, the $\LARGE{\sin{\bf{\theta}}}$ and $\LARGE{\cos{\theta}}$ transfer, causing a decrease in the angular momentum in the wheel. In order for angular momentum to be conserved, that amount of lost angular momentum is transferred to the volunteer and causes them to now rotate in the opposite direction of the wheel’s rotation, thus balancing out the system. This can be seen by
$$ \vec{\text{L}} = \int{\rho {d}\vec{r} {d}\theta} = m\vec{v}\vec{r}(\sin{\theta}+\cos{\theta}) $$
Where the variables are $\LARGE{ \theta, \vec{v}, \text{and } \vec{r} }$ [1][2]
I usually like to do this one before the spinning cup demo so the students become acquainted with the concept of angular momentum. As this is more of the introduction to angular momentum, I either do the spinning top before this or have this be the transition demo into a new mechanics topic. What the students actually do with the demo is usually pretty intuitive for them so after you ask for volunteers, “does anyone want to get dizzy?”, it may work best to go straight into spinning. After a student spins on the stool with the weights, I ask them and the audience what they noticed. To relate what they just experienced to everyday phenomena, I usually bring up how what happened is similar to an ice skater bringing their arms in to spin faster. If they’ve ever been on a merry-go-round, you can ask them if standing on the edge of the merry-go-round felt any different than if they stood closer to the center of it. I’ll explain to them what angular momentum is (what it’s dependent on), and have them try to see how them spinning with their arms extended made a large circle with a large radius. Younger students will be more preoccupied with taking turns getting spun rather than hearing the actual math, but still attempt to have the concept shared with them. Older/high school students should be able to understand the two-dimensional form of the angular momentum equation.
When addressing the bicycle wheel with younger students I try to have them visualize the difference between the wheel being horizontal and vertical, and have them tell me whether them on the stool would be considered as “horizontal” or “vertical”. This can be explained in a different way, so long as they later realize the reason they are moved in one position of the wheel and not the other is, in part, due to how their (the wheel and the student) coordinate planes align. I would only address torque to high schoolers, and maybe middle schoolers to the extent of why they feel a kind of “jerk” when they change the orientation of the wheel.
Tips
- If a volunteer (usually a child) is unable to extend their arms with the weights, let them try with both their hands on a single weight. If this is still too heavy, the demo should still be able to work with them simply extending their arms out and bringing them in.
- Make sure to wrap the rope around the handle and have the volunteer hold the wound rope down to avoid having the rope smack them in the face once the wheel is rotating.
- If the wheel can touch the volunteer’s body while their arms are fully extended, try the demo with someone else. It’s not worth accidentally having the volunteer get hurt.